There are a few ways to add devices to Aruba Central.
1. Add a device using serial number and MAC address
Check out the video below for steps to adding a device to Aruba Central using Serial Number and MAC Address.
1. Login to your Aruba Central Account: https://portal.central.arubanetworks.com/platform/login/user
2. After logging in, at the top right corner of the screen, click on the Account Home icon
3. Click on Device Inventory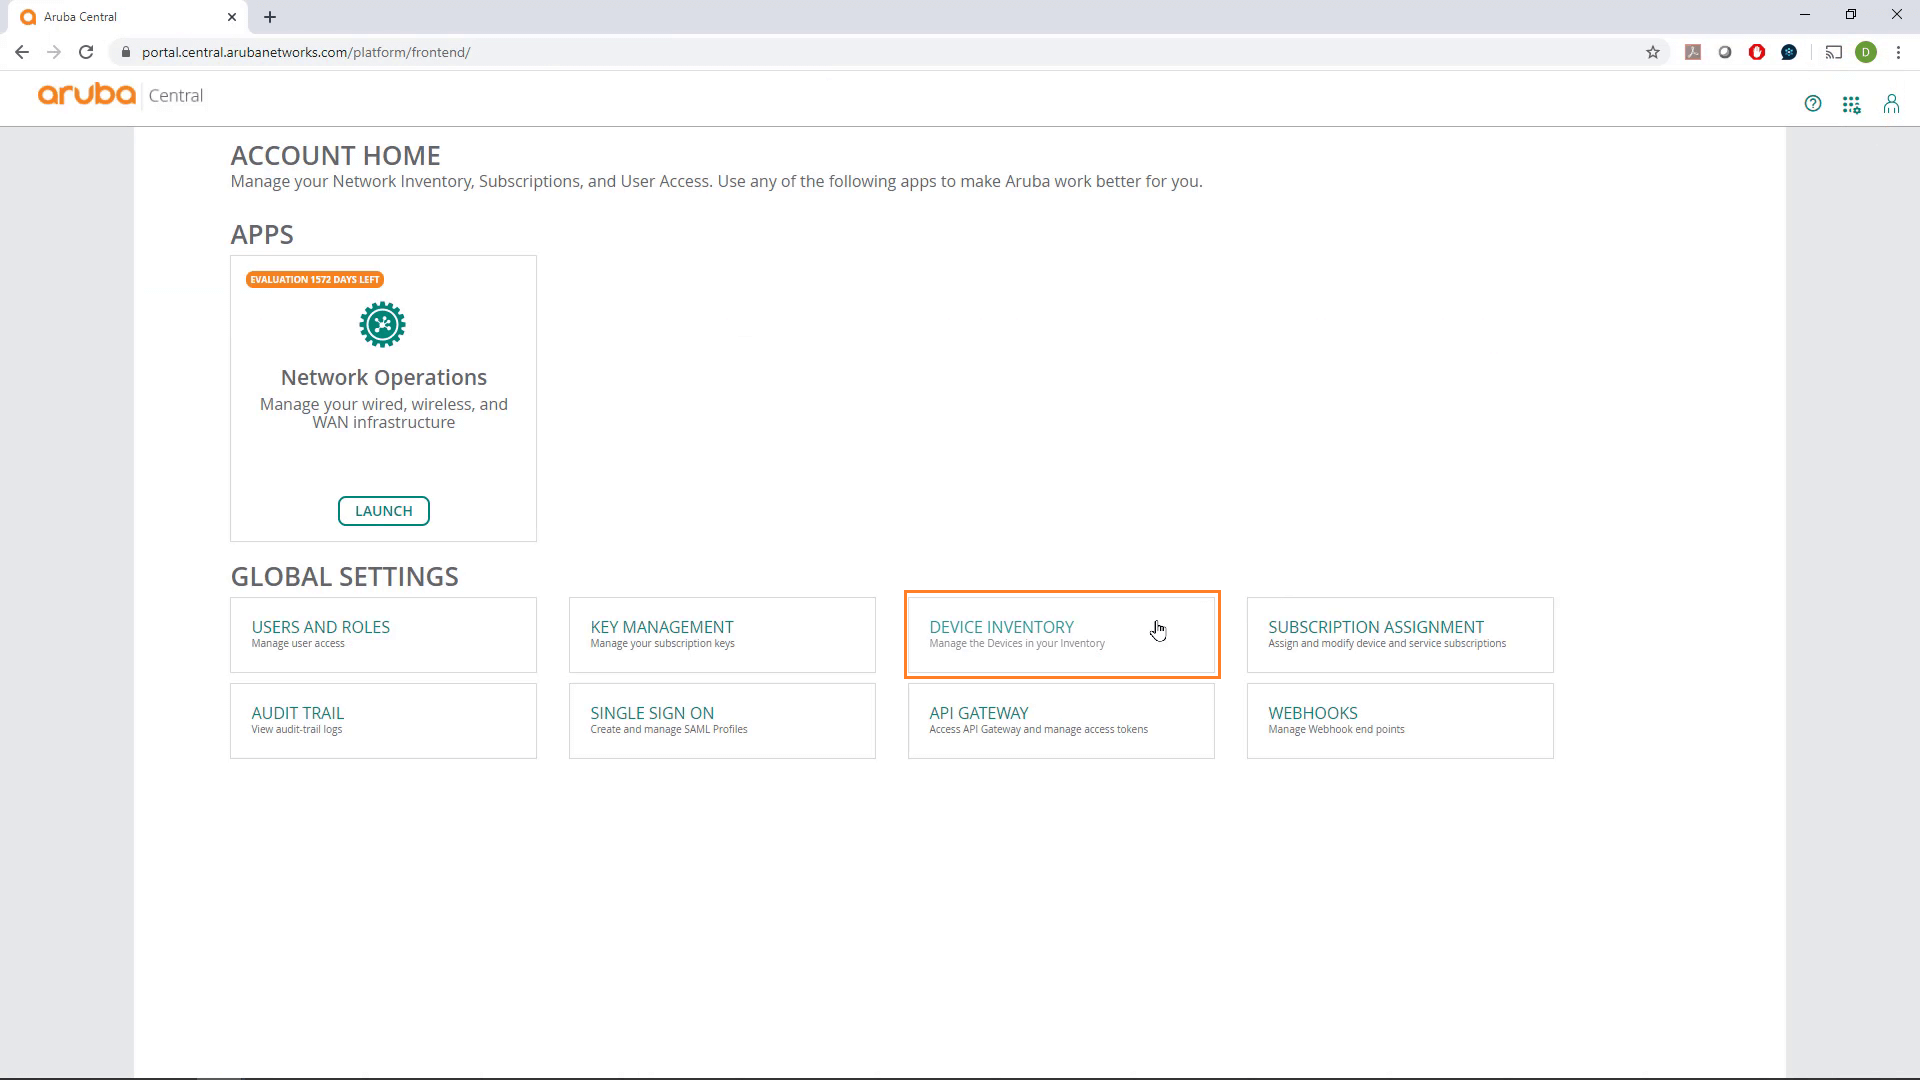
4. At the bottom left of the Device Inventory page, click on Add Devices.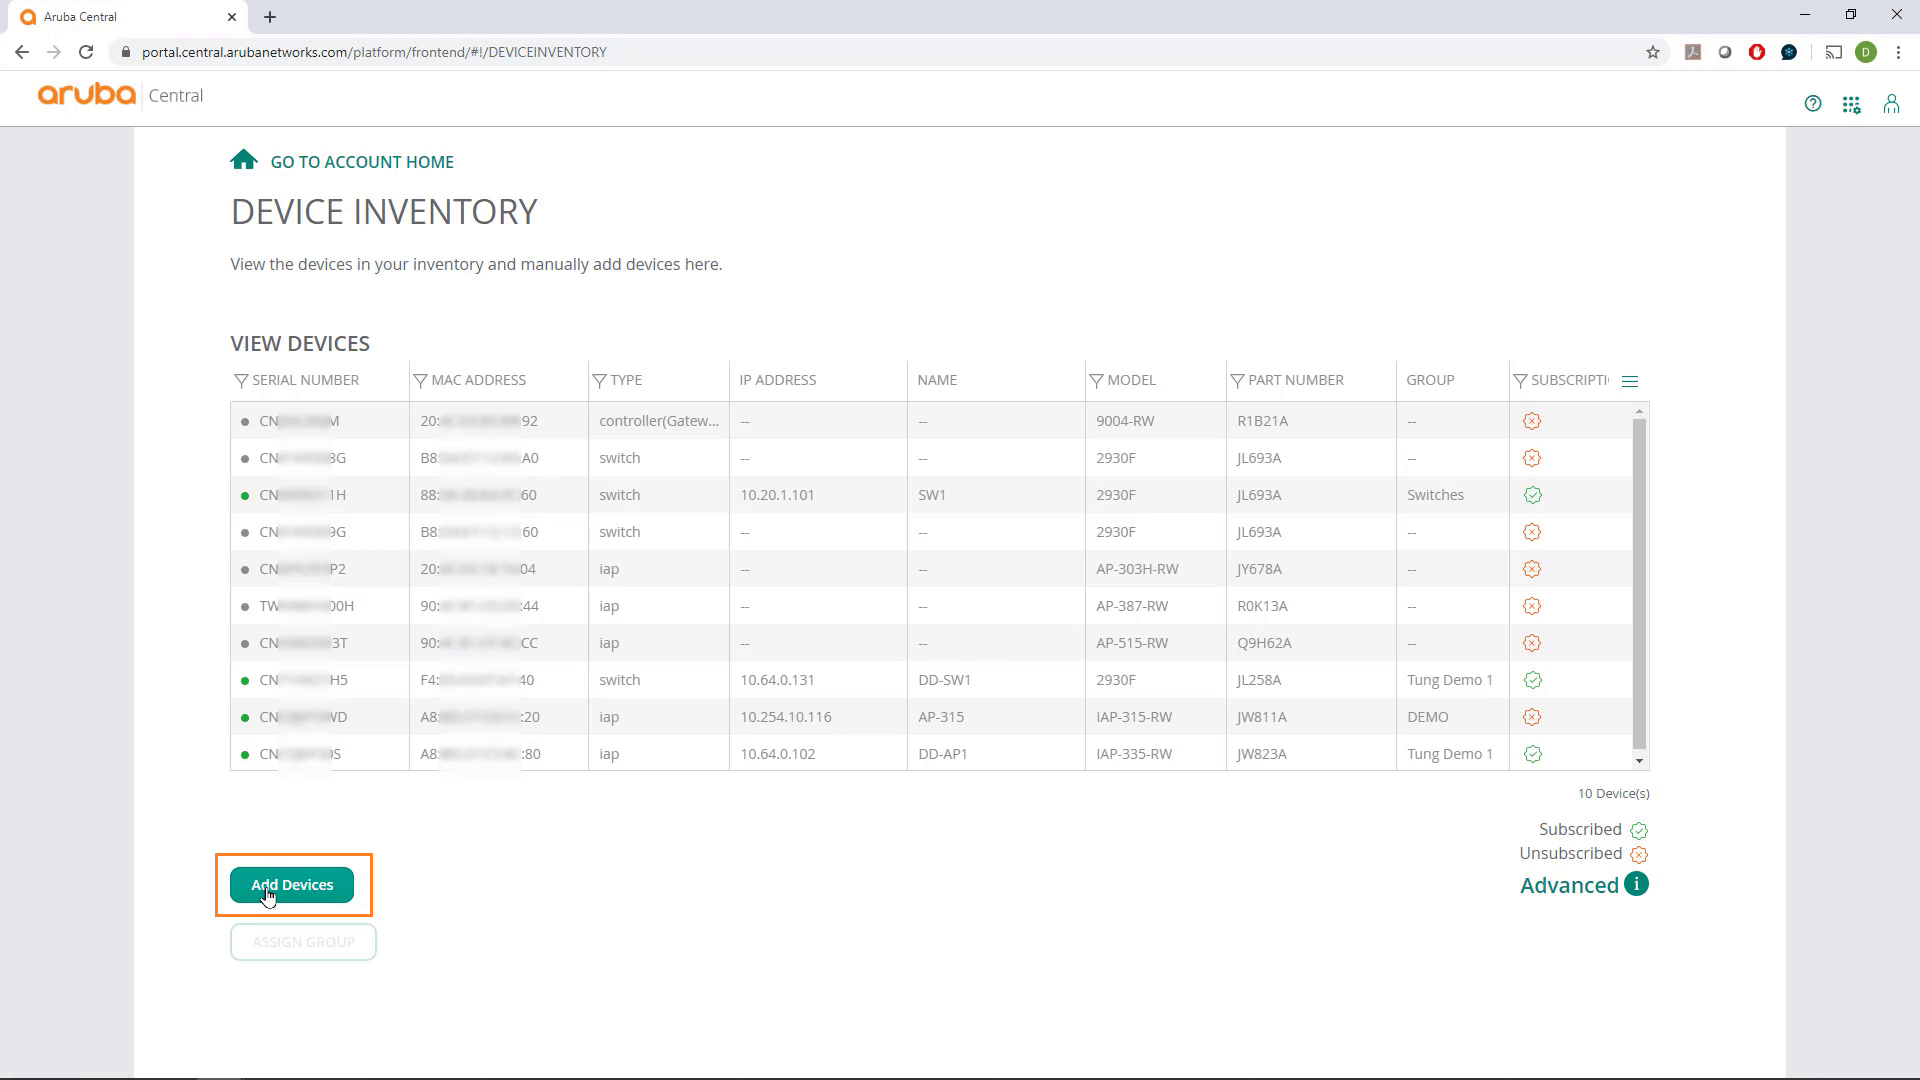
5. Copy and paste the serial numbers and MAC addresses of the devices you wish to add. You can add up to 30 devices at once.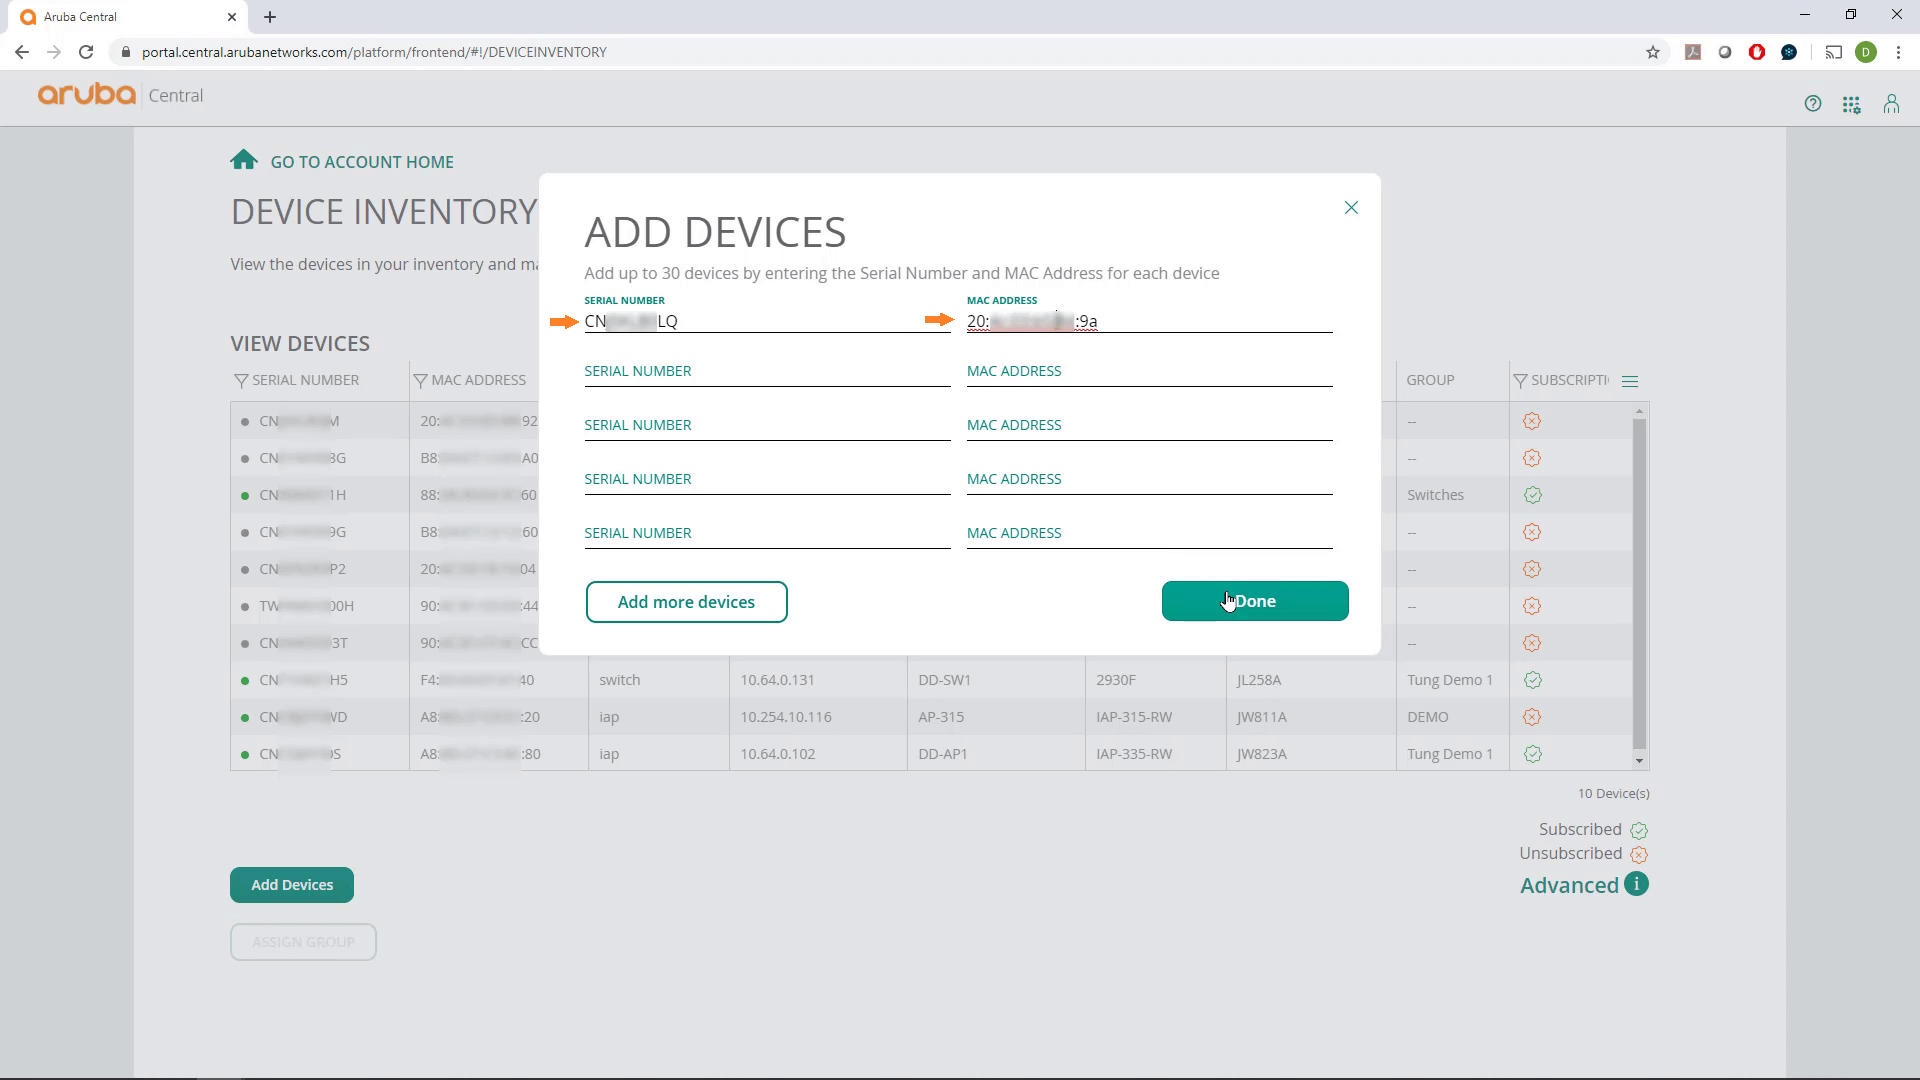
6. Click on Done.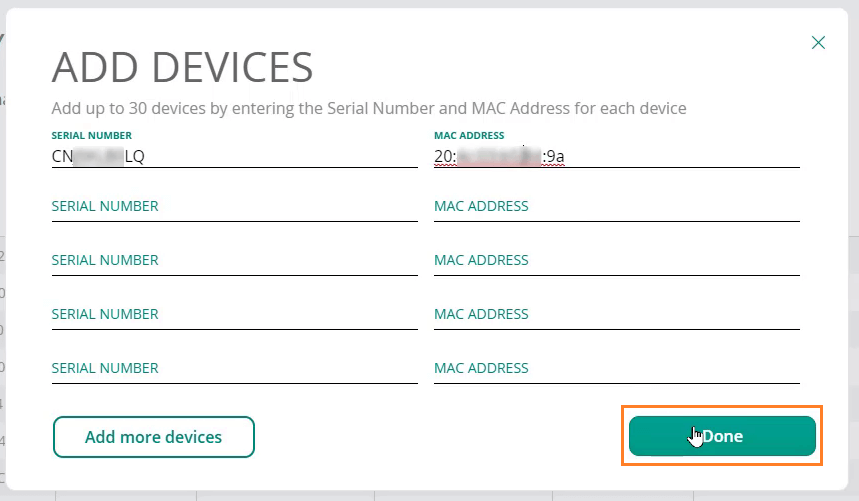
7. The newly added device(s) will now appear on your Device Inventory list, ready for licensing.
2. Import multiple devices using CSV file
You can import multiple devices using a CSV file.
1. Login to your Aruba Central Account: https://portal.central.arubanetworks.com/platform/login/user
2. After logging in, at the top right corner of the screen, click on the Account Home icon
3. Click on Device Inventory
4. At the bottom left of the Device Inventory page, click on Download sample CSV file to download the template.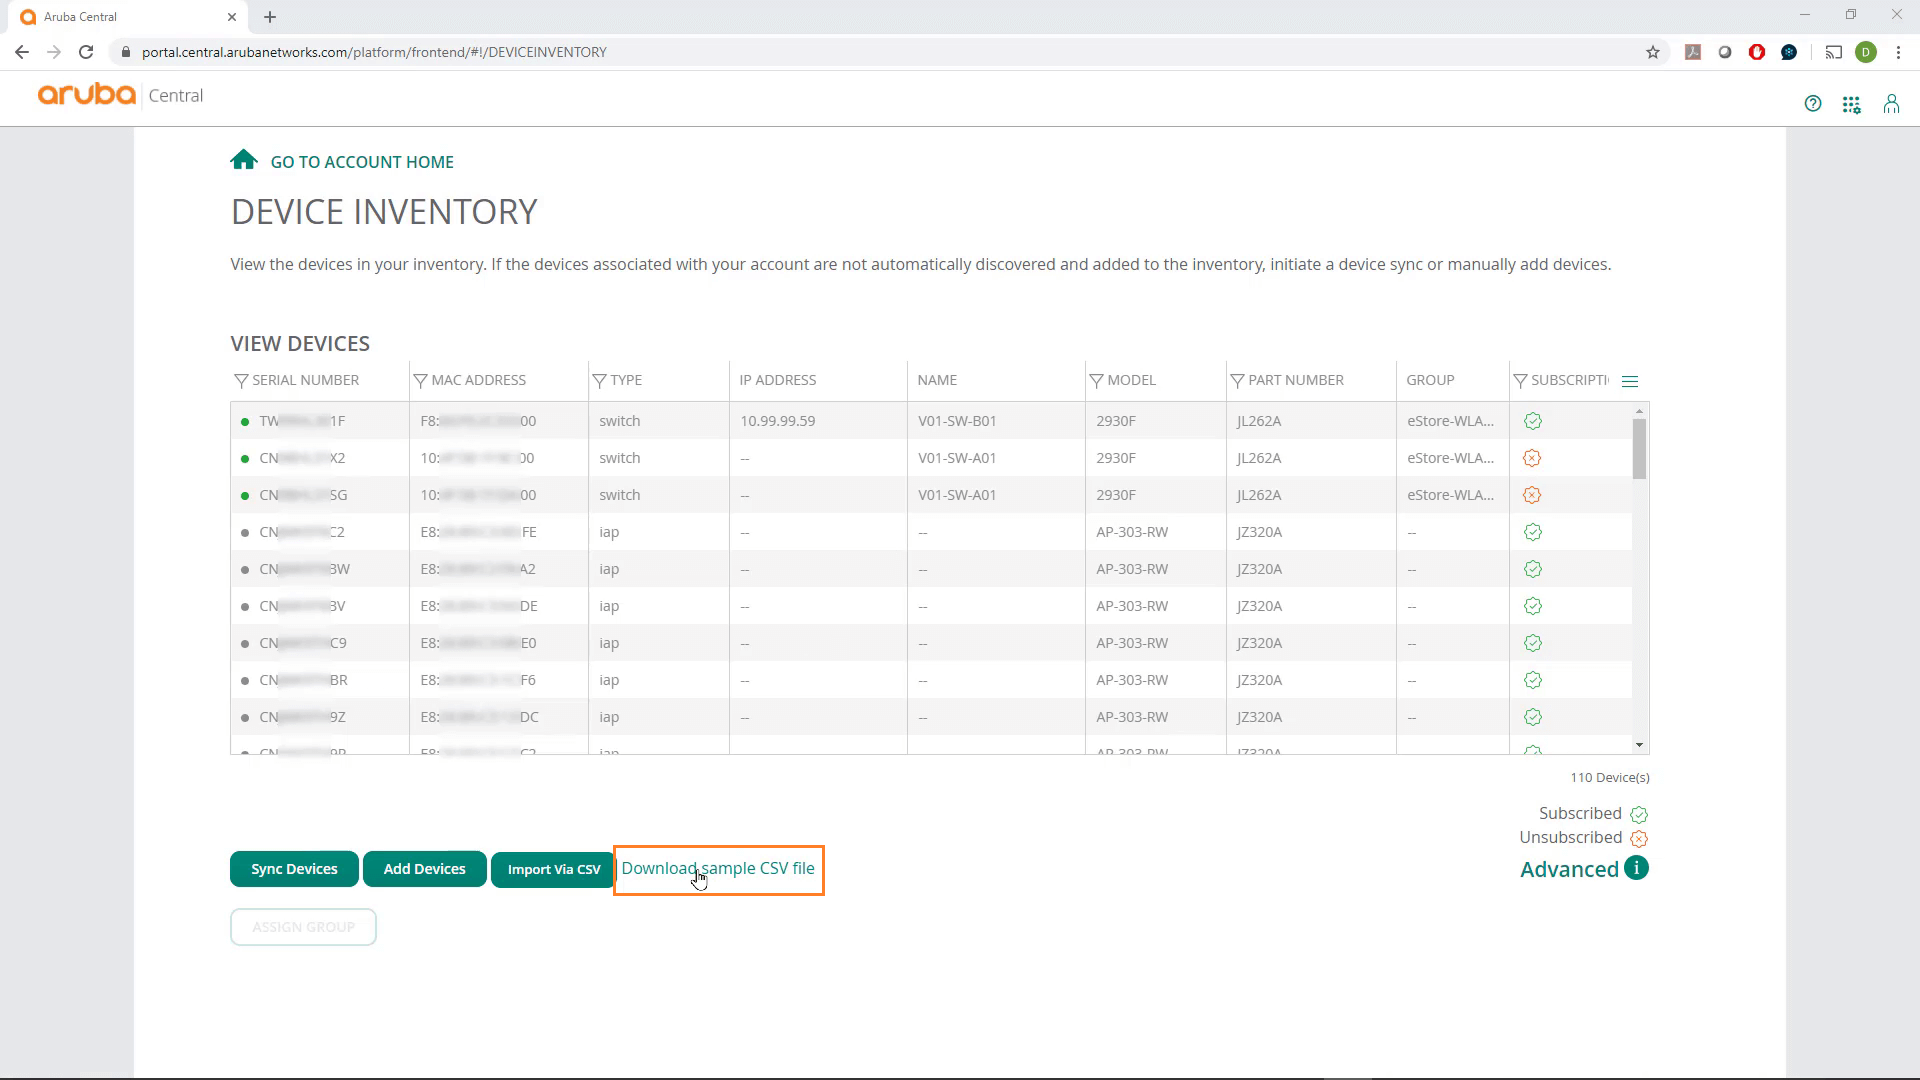
5. Open the template file and populate the columns with the devices’ serial numbers and MAC addresses following the format provided.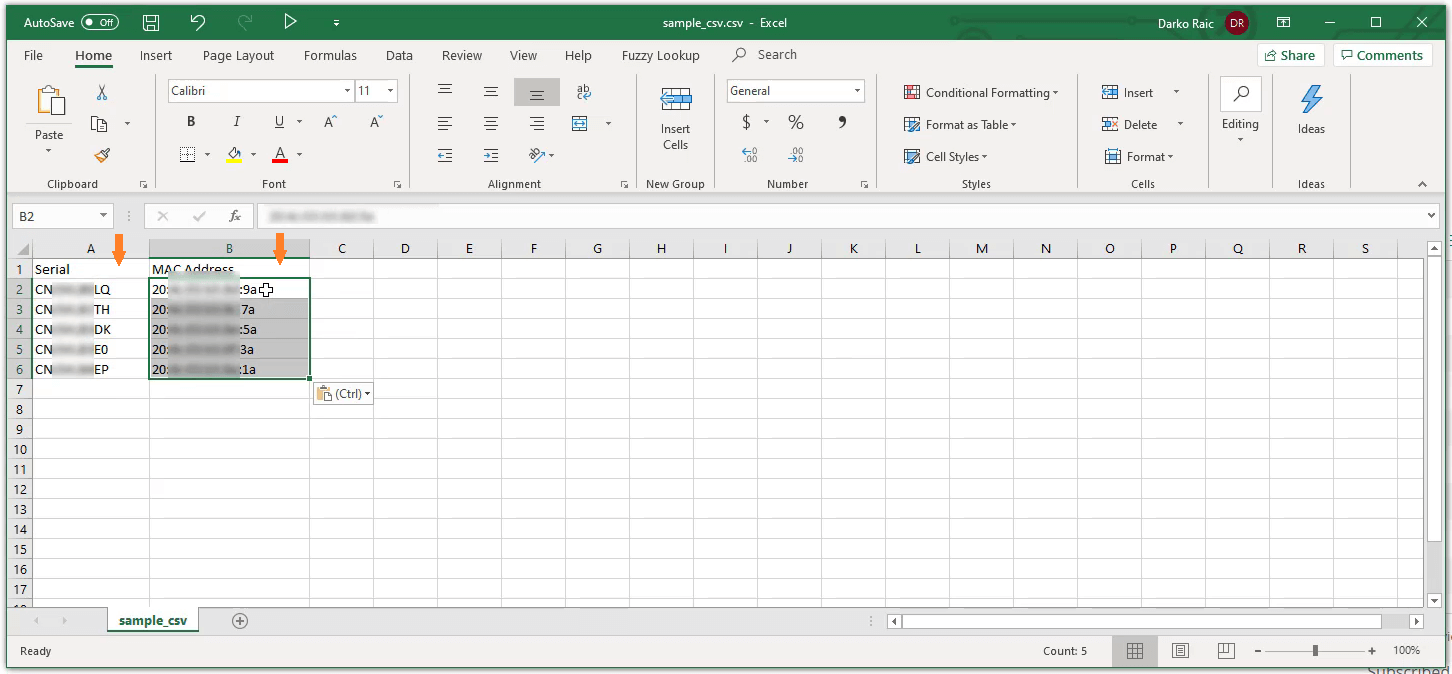
6. Save the file.
7. Go back to the Device Inventory screen and upload the file via the Import Via CSV button at the bottom of the screen.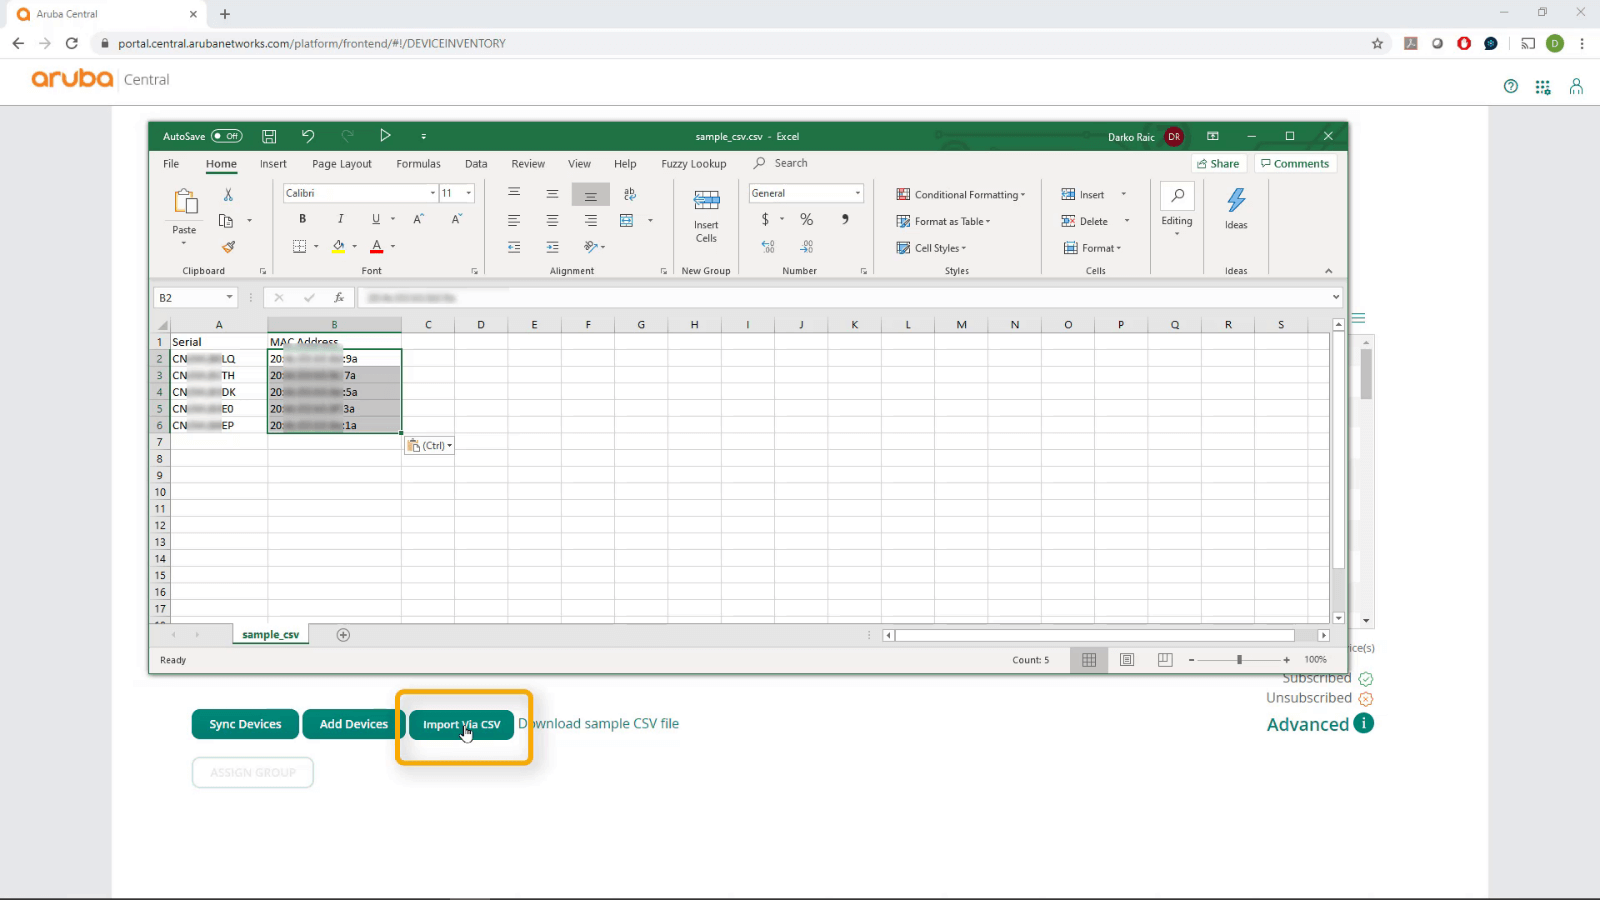
3. Add a device to Aruba Central using Cloud Activation Key
Watch the video below on steps for adding a device to Aruba Central using Cloud Activation Key.
Before adding your device to Aruba Central using the Cloud Activation Key, you’ll first need to retrieve the activation key and a MAC address from one of the devices you are adding to Central.
If you already have them, skip directly to instructions on adding your devices to Central.
How to retrieve Cloud Activation Key from your switch
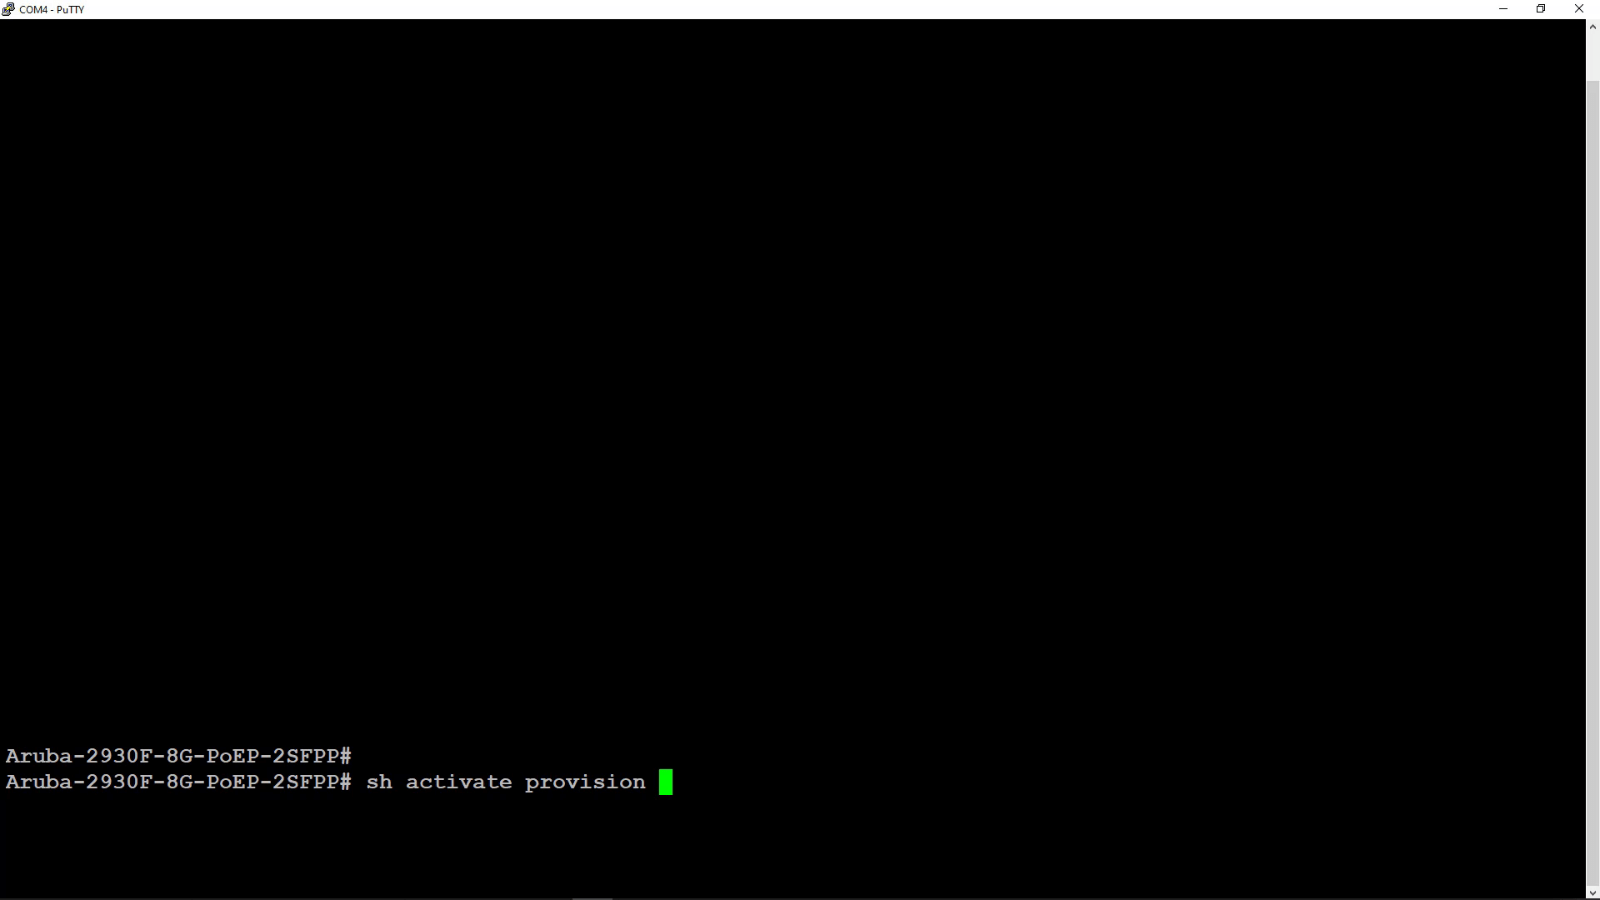
- Log on to the switch Command Line Interface (CLI)
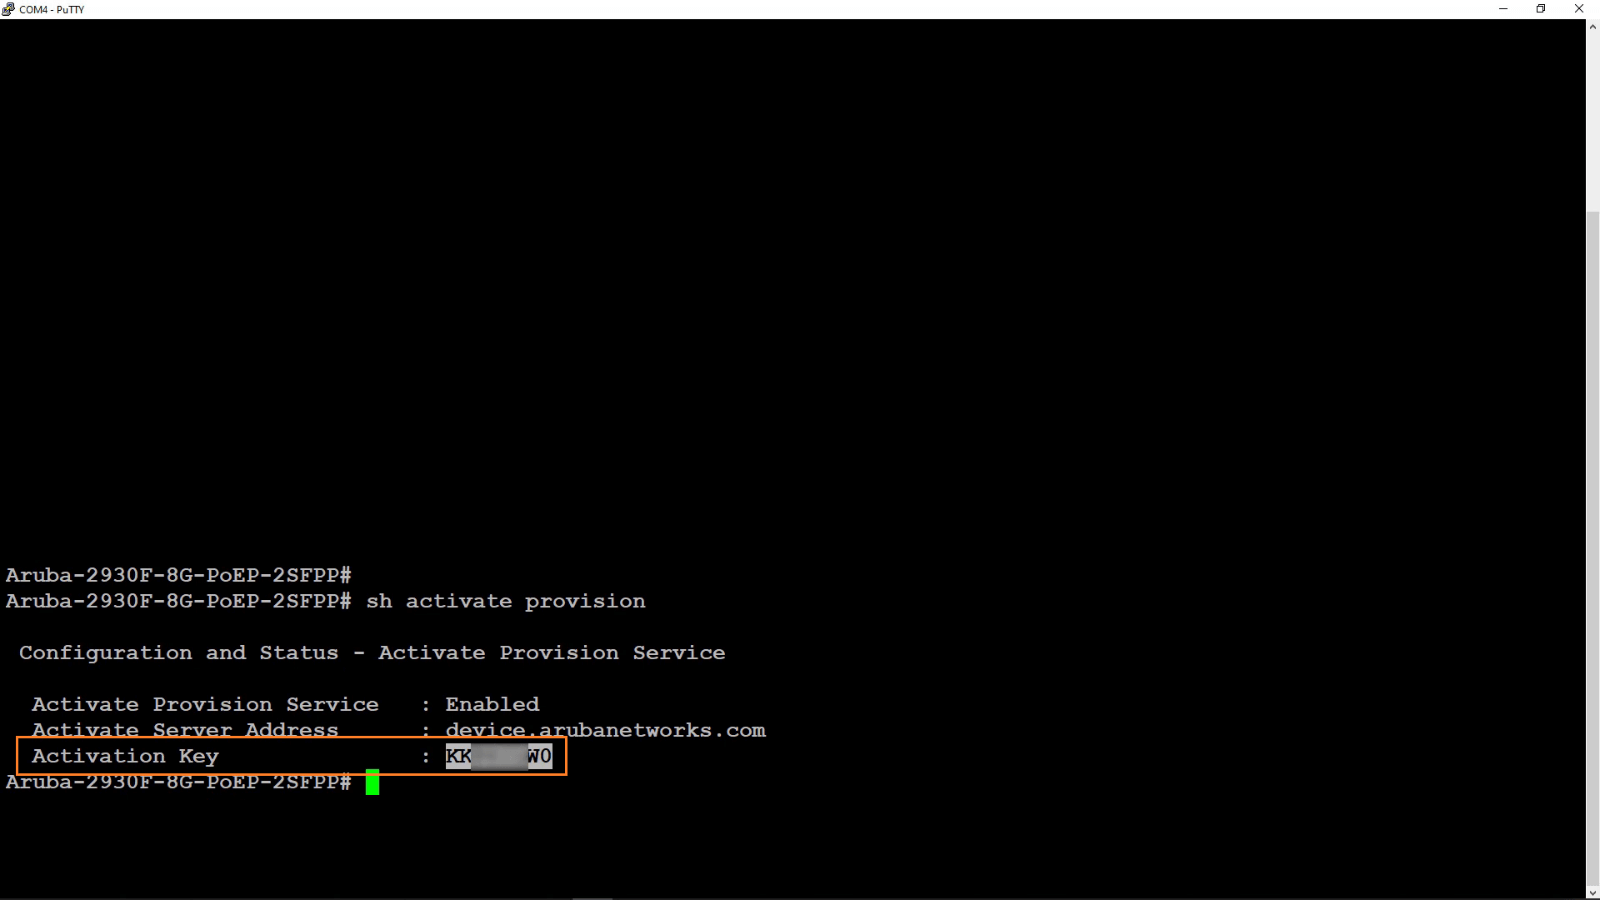
- Type in the command: sh activation provision
- Copy the activation key
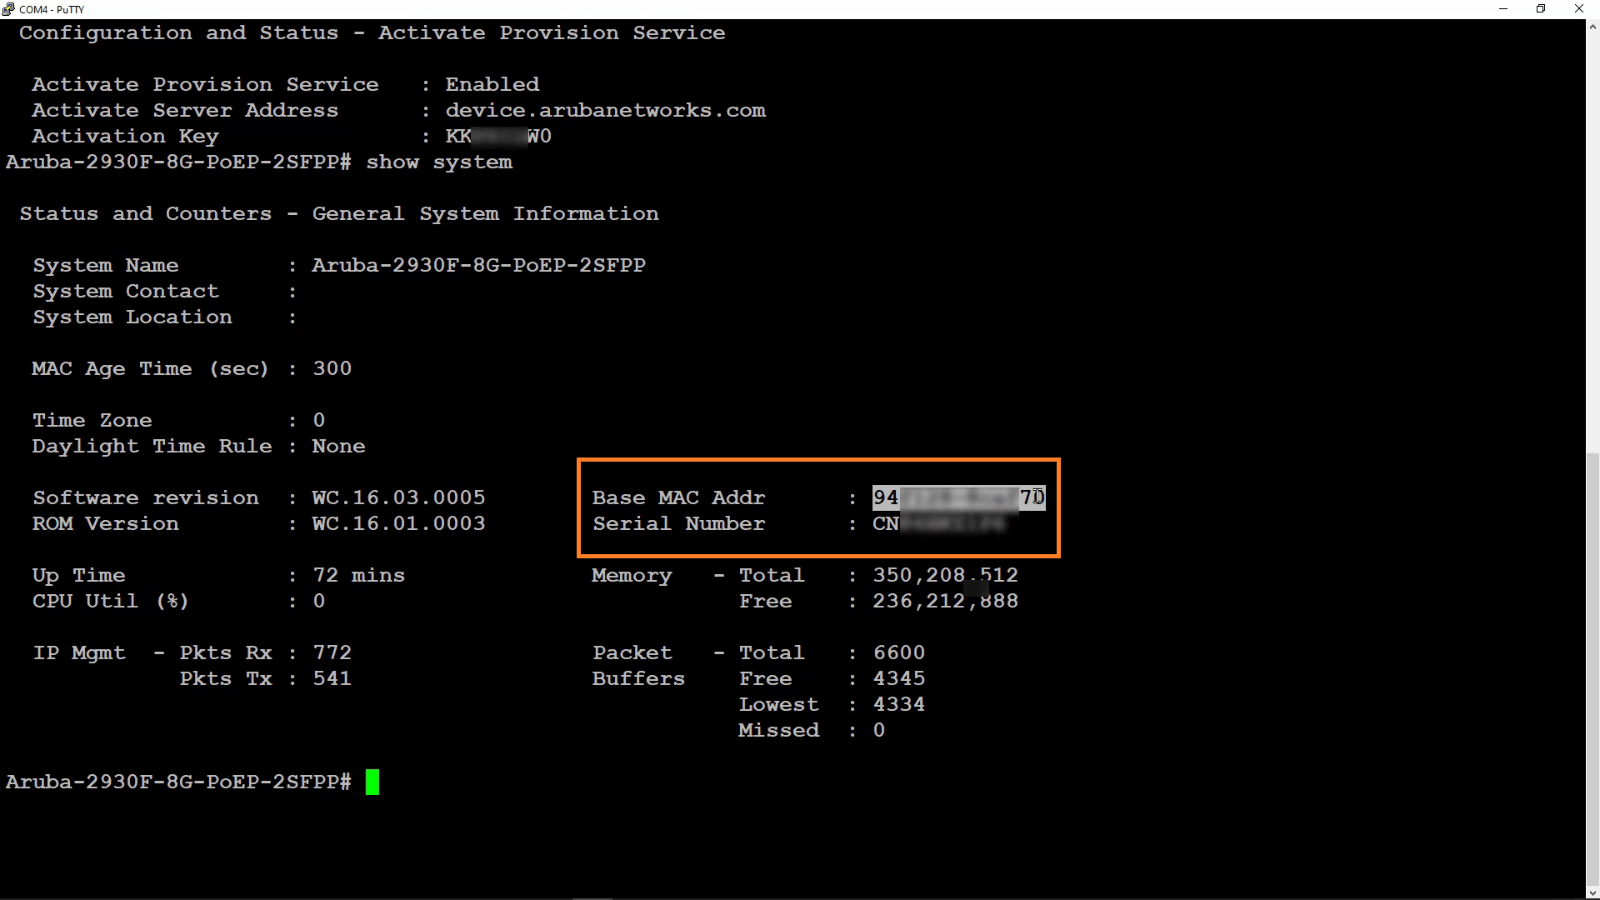
- Retrieve the MAC address by using the command: show system
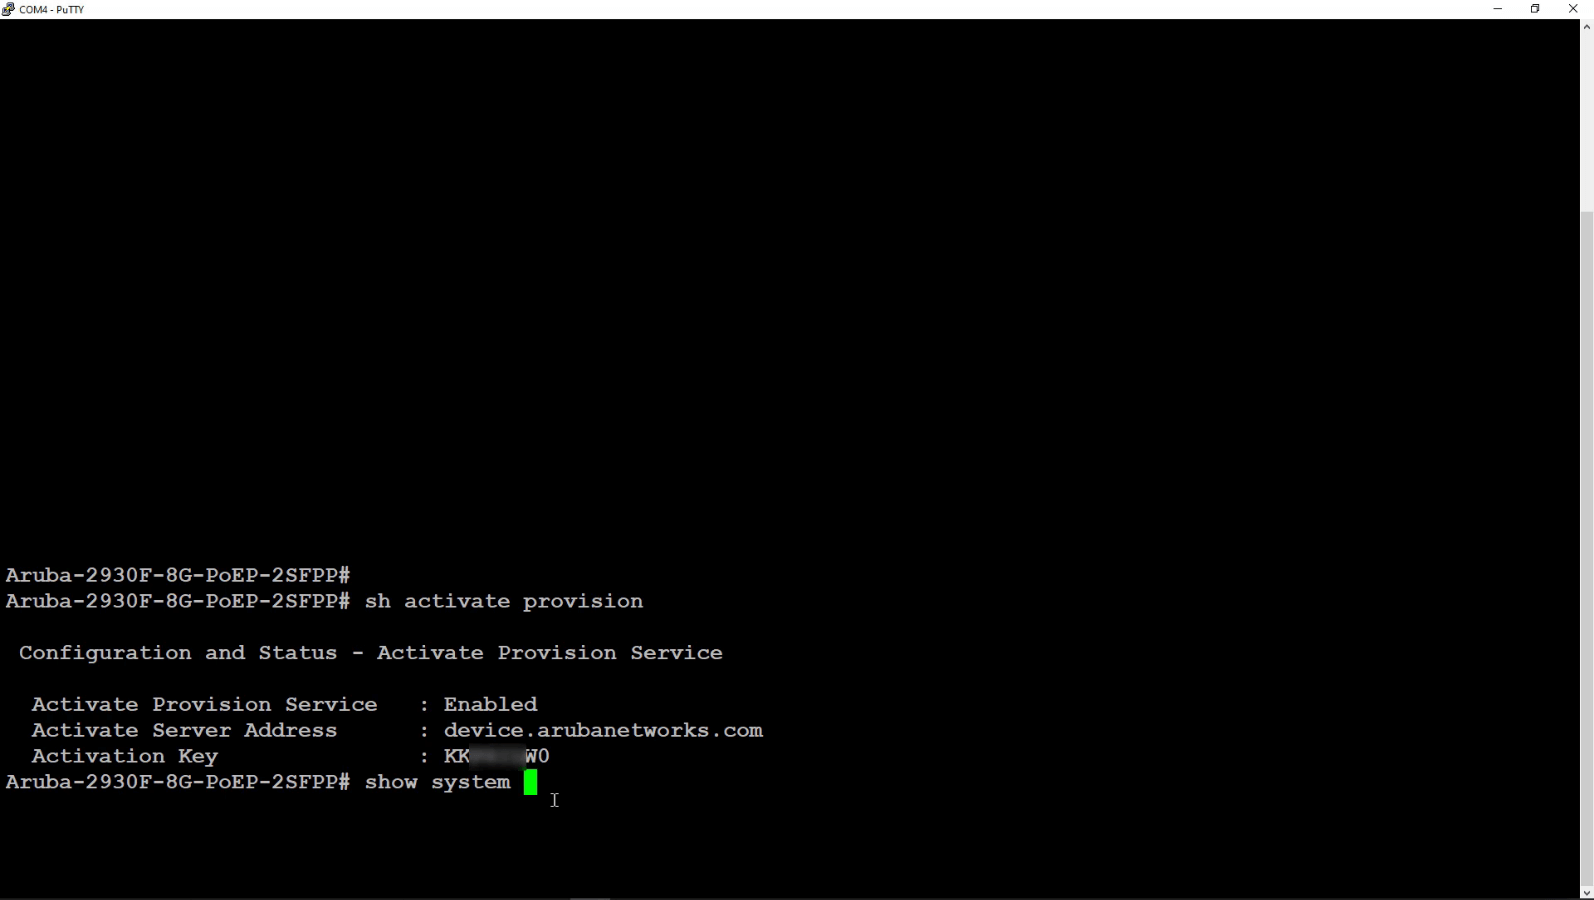
- Copy the MAC address
How to retrieve Cloud Activation Key from your access point
- Login to the IAP management interface from your Aruba Instant access point
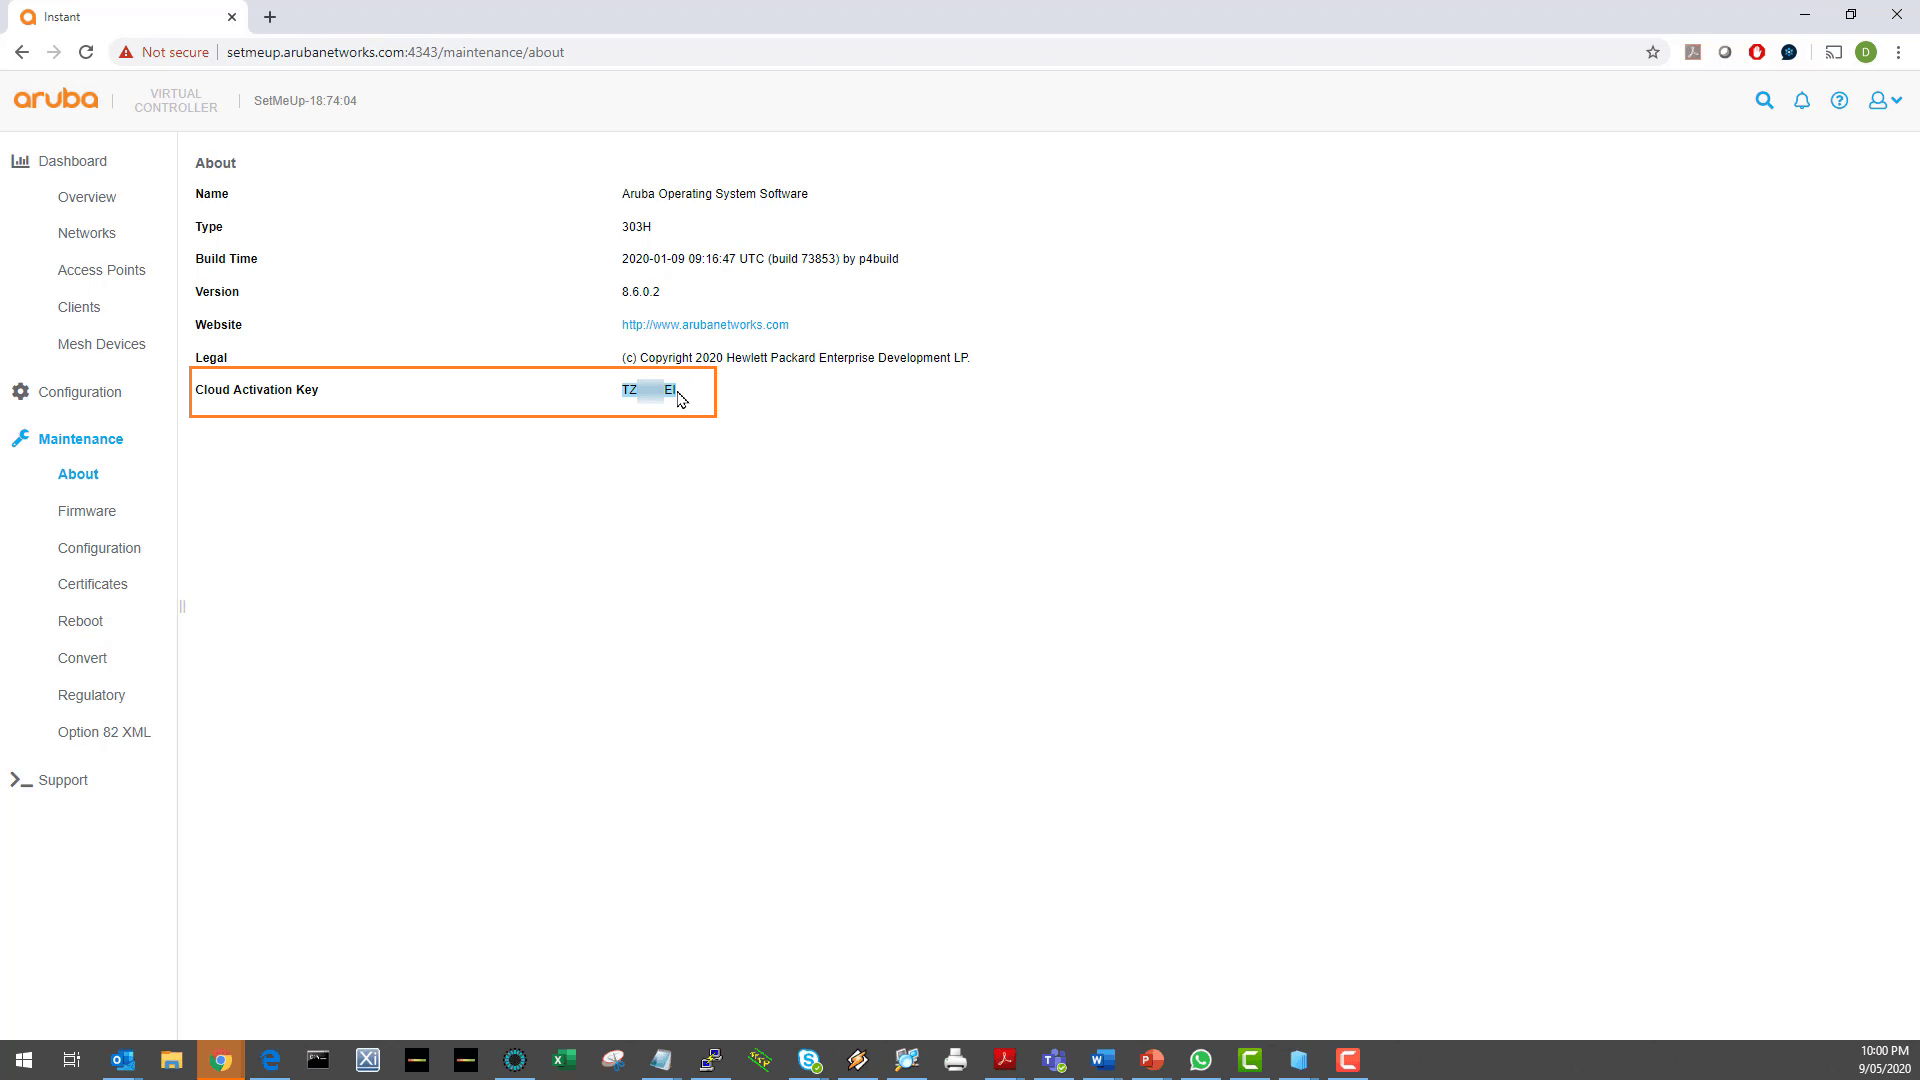
- From the menu bar on the left of the screen, select Maintenance and About
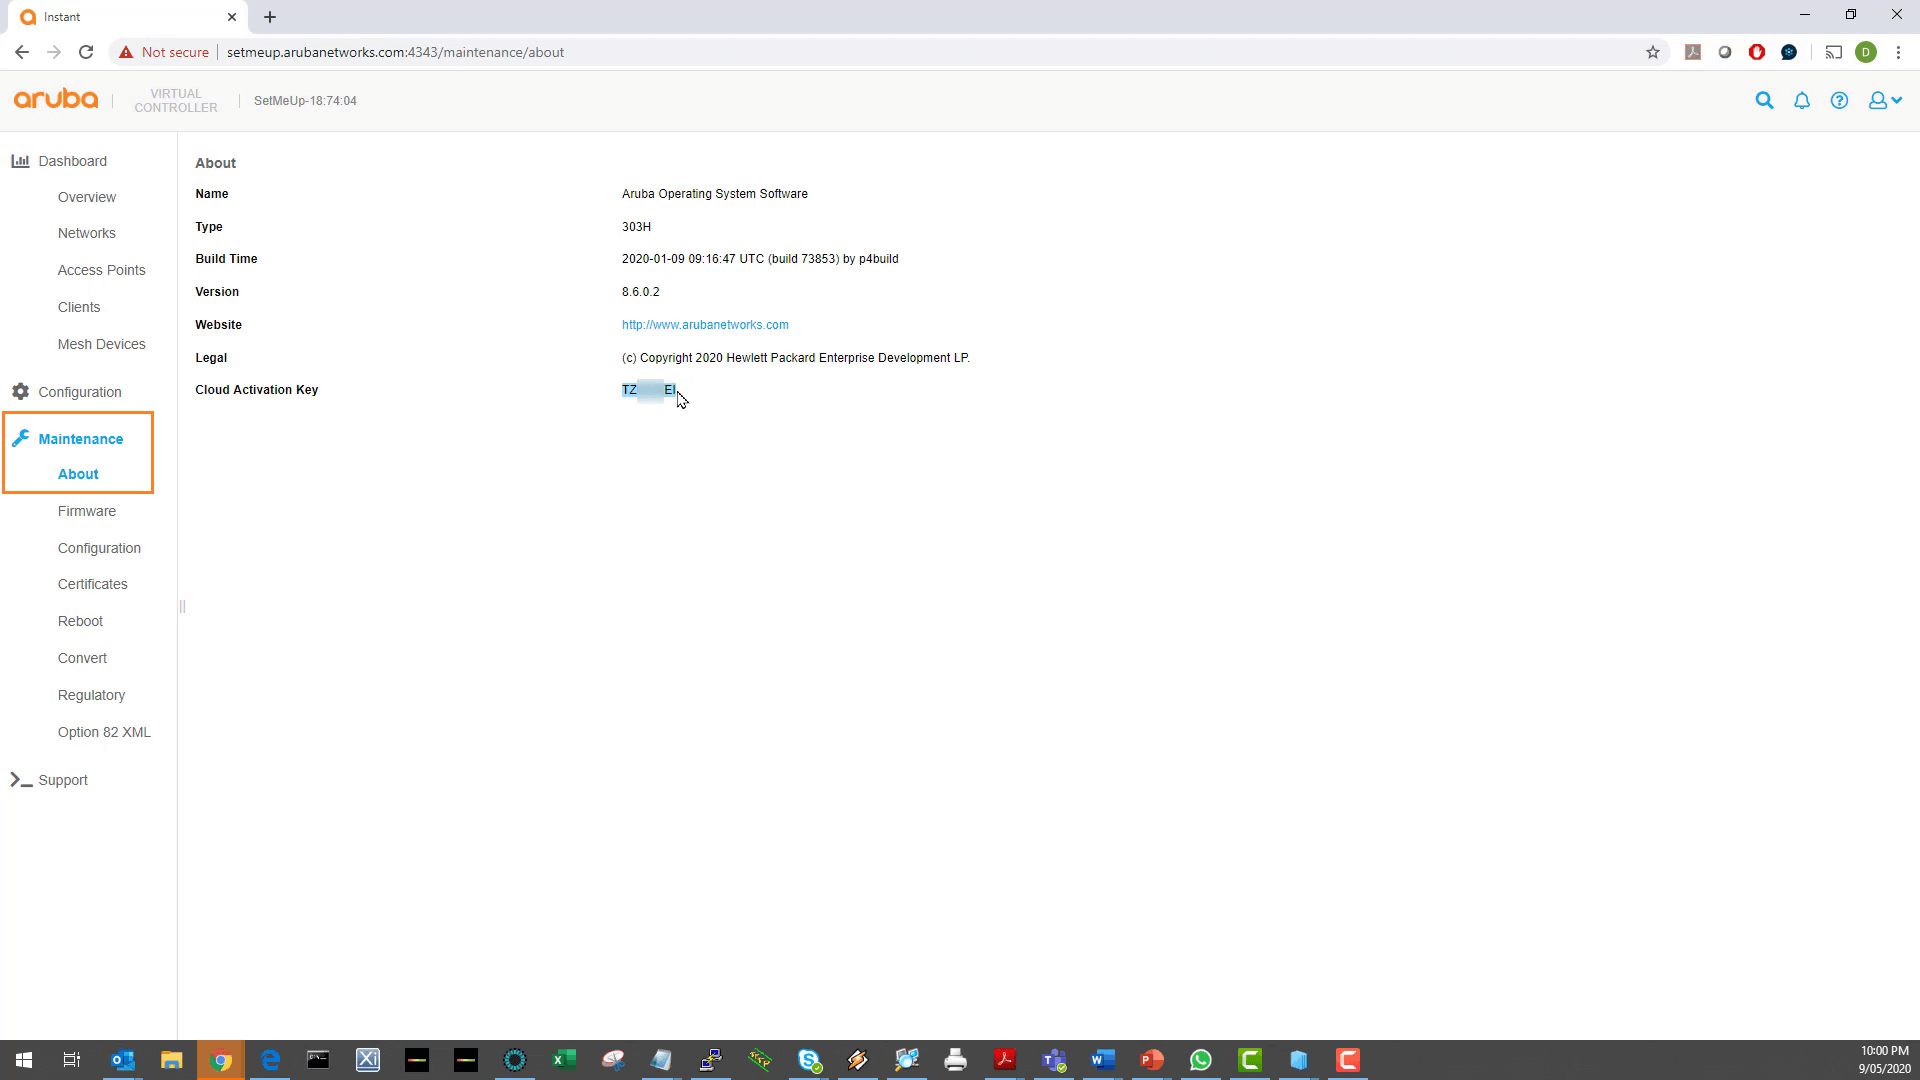
- Copy your Cloud Activation Key
How to retrieve the MAC address of your access point
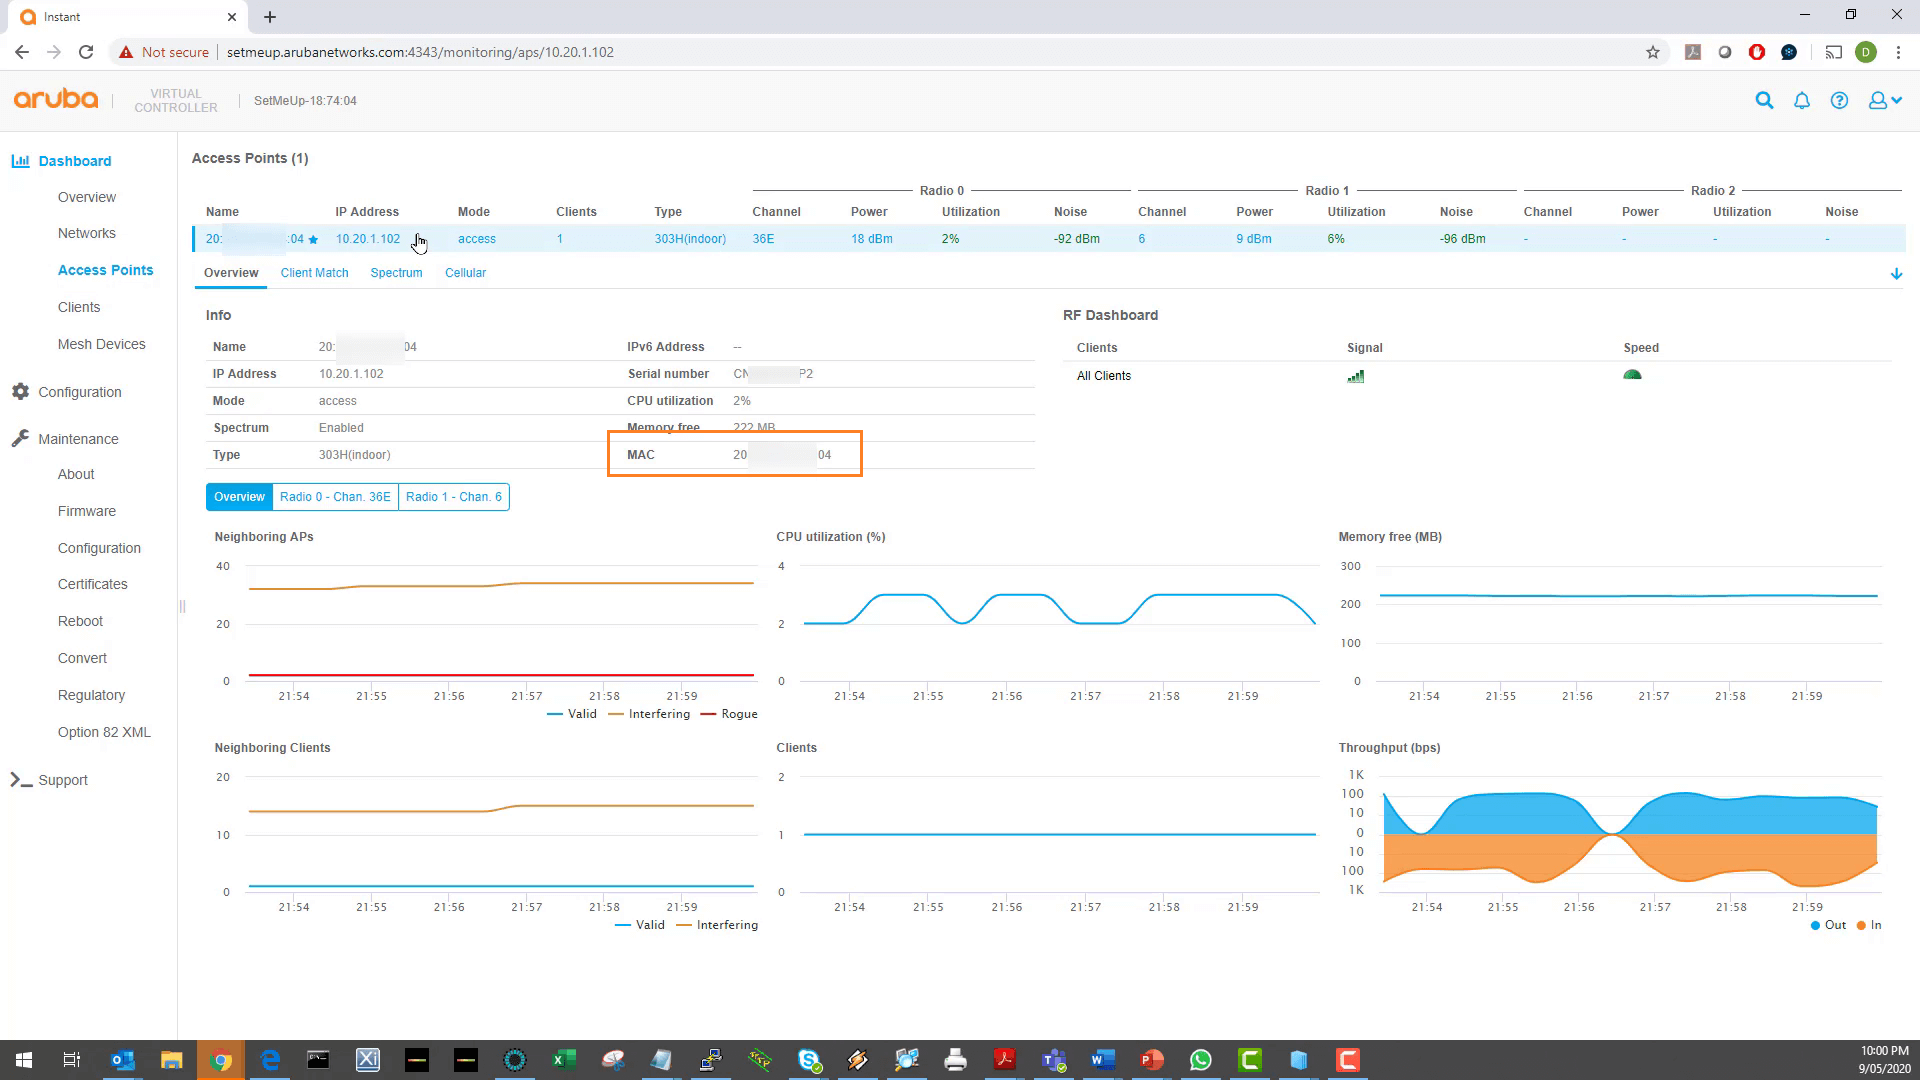
- From the menu bar on the left of the screen, select Access Points under Dashboard
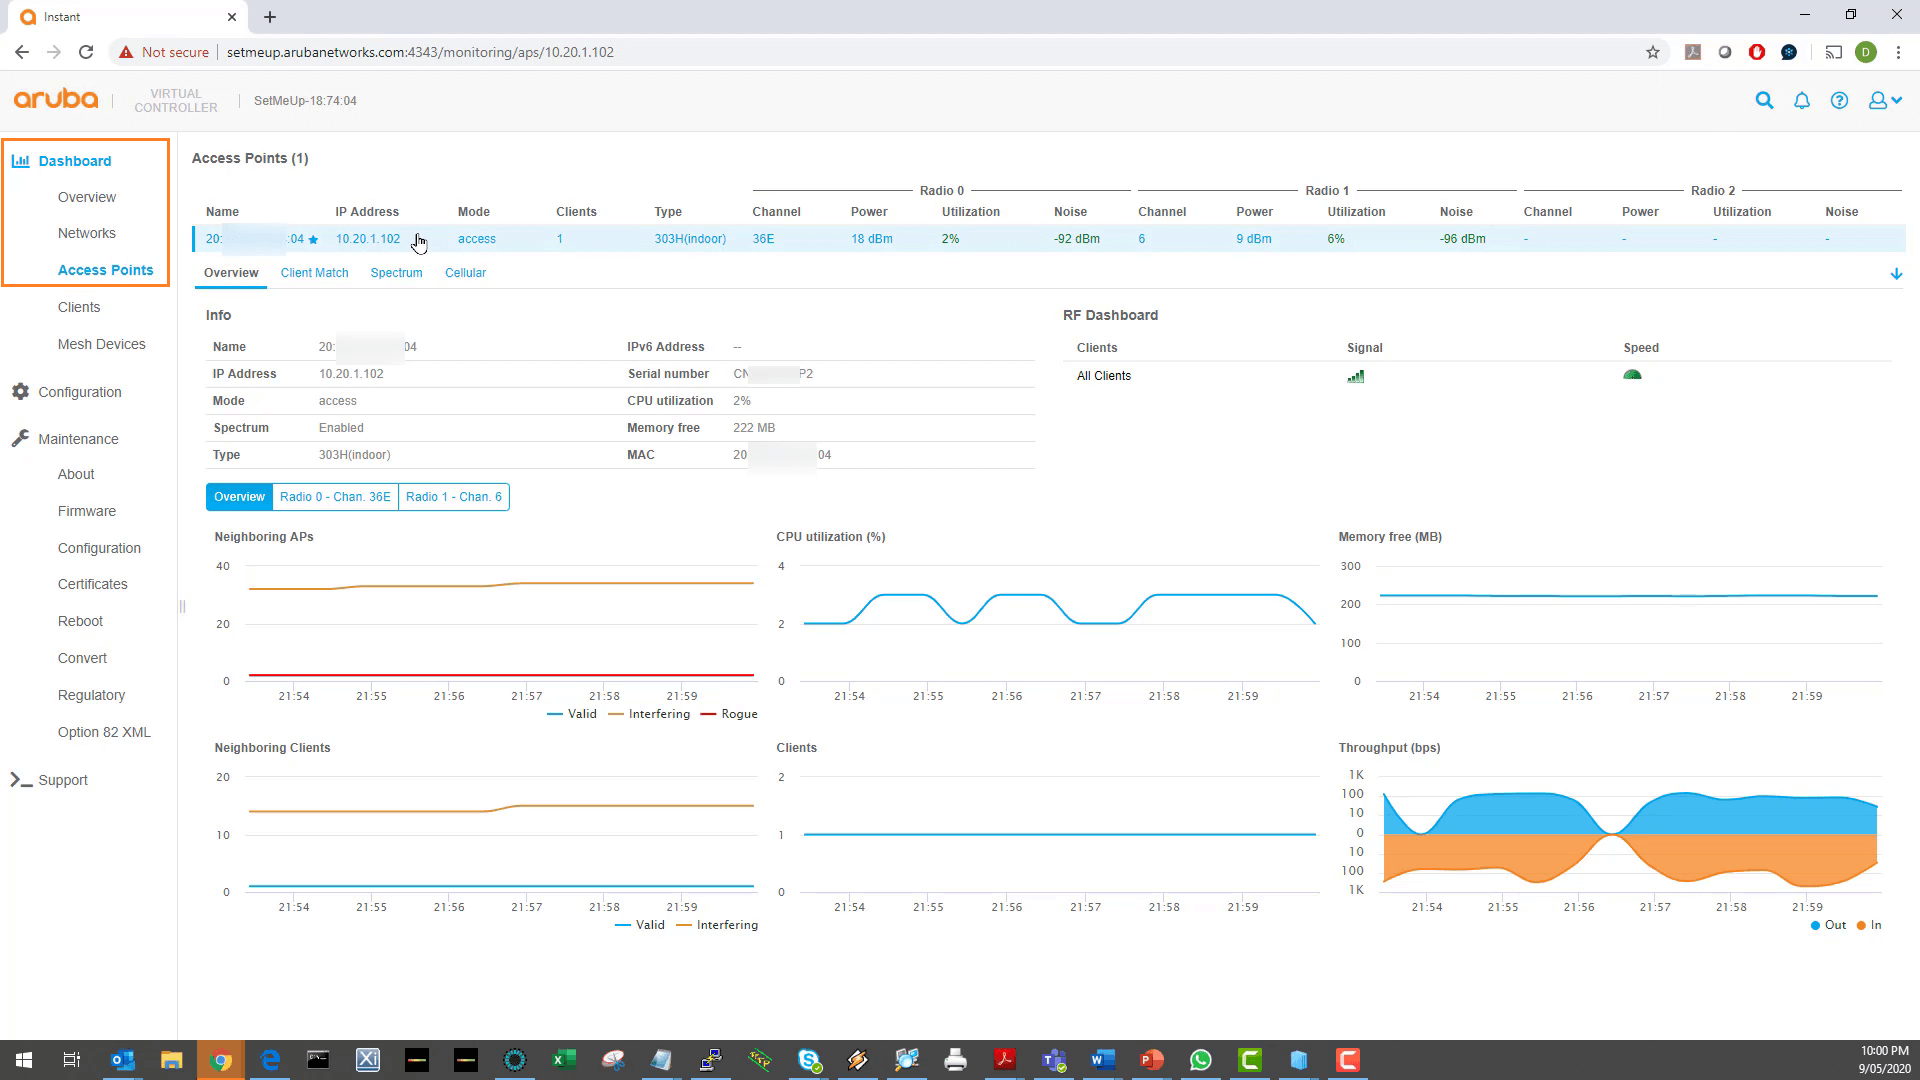
- Select the access point from the list
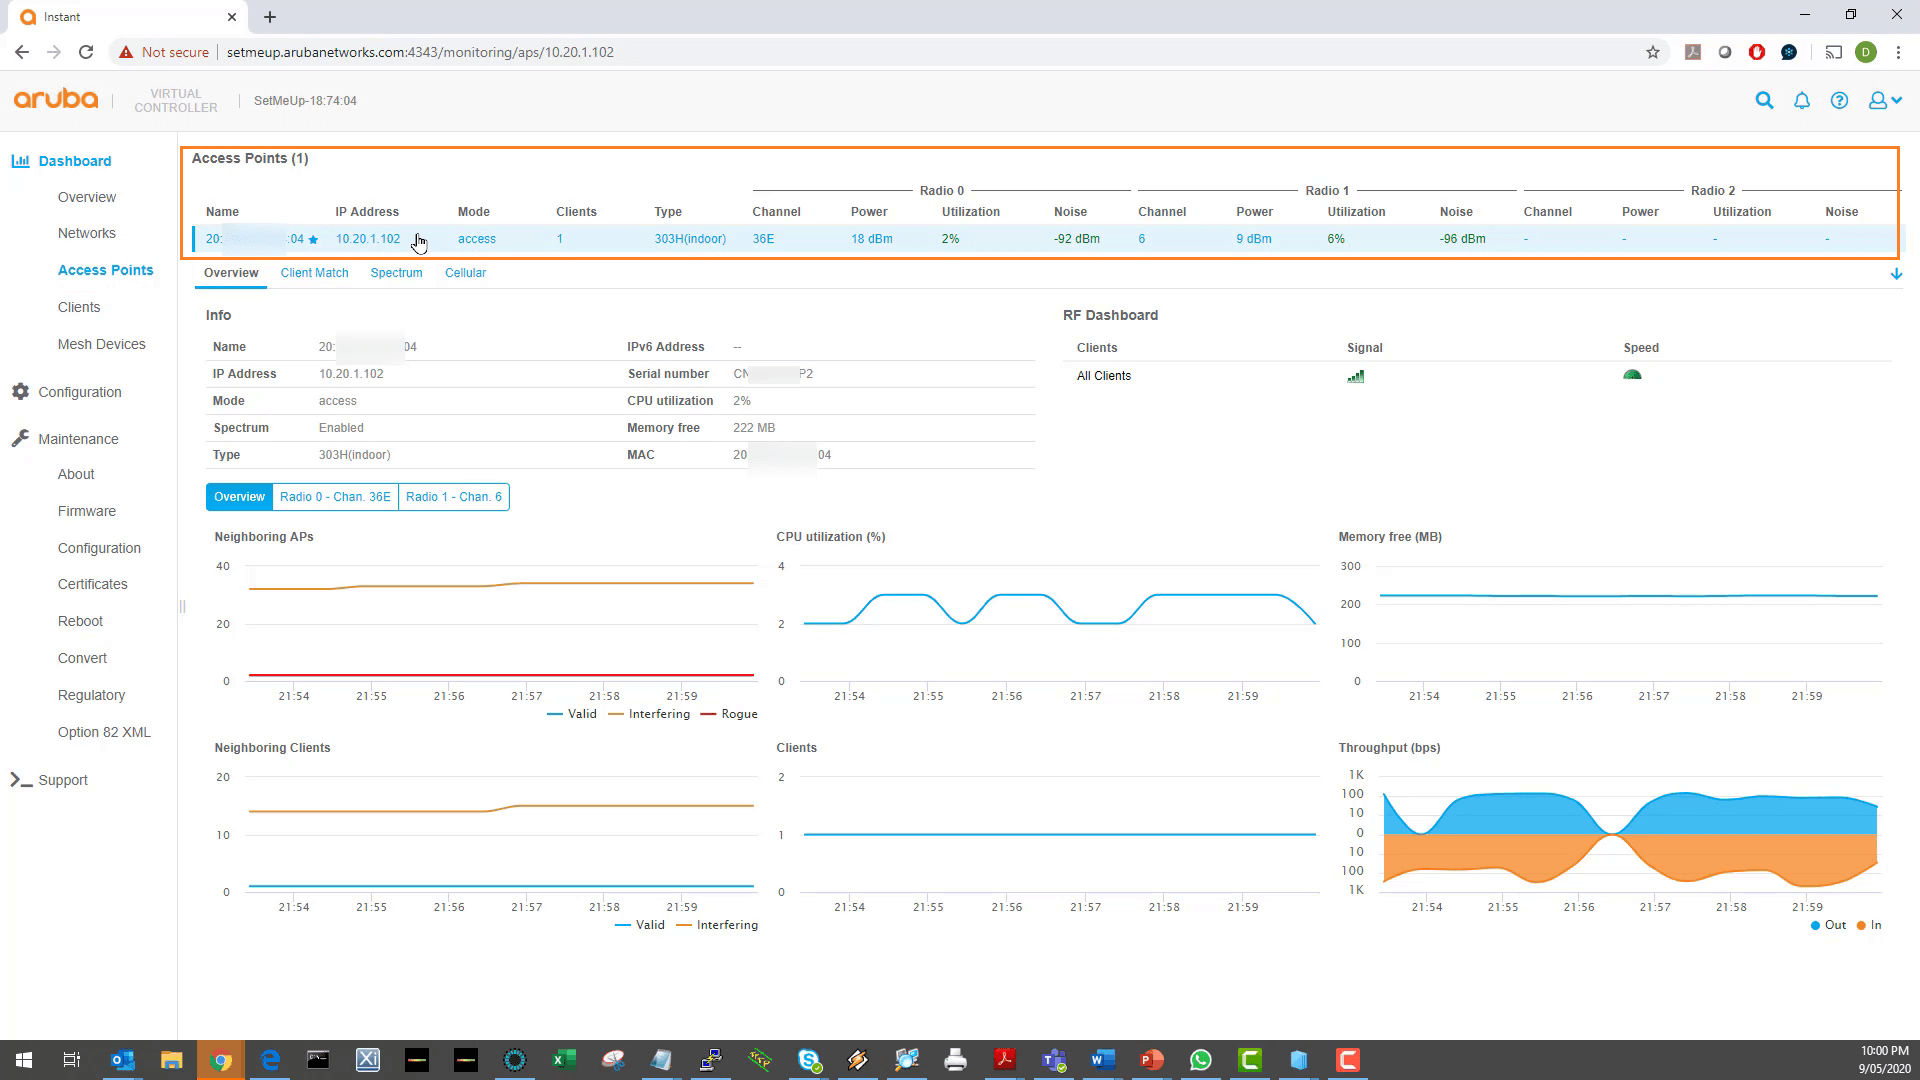
- Copy the MAC Address
Now, with your Cloud Activation Keys and MAC addresses, you can add your devices to Aruba Central.
Add a device to Aruba Central using Cloud Activation Key
- Login to your Aruba Central Account: https://portal.central.arubanetworks.com/platform/login/user
.png?width=418&name=1-1%20(1).png)
- After logging in, at the top right corner of the screen, click on the Account Home icon
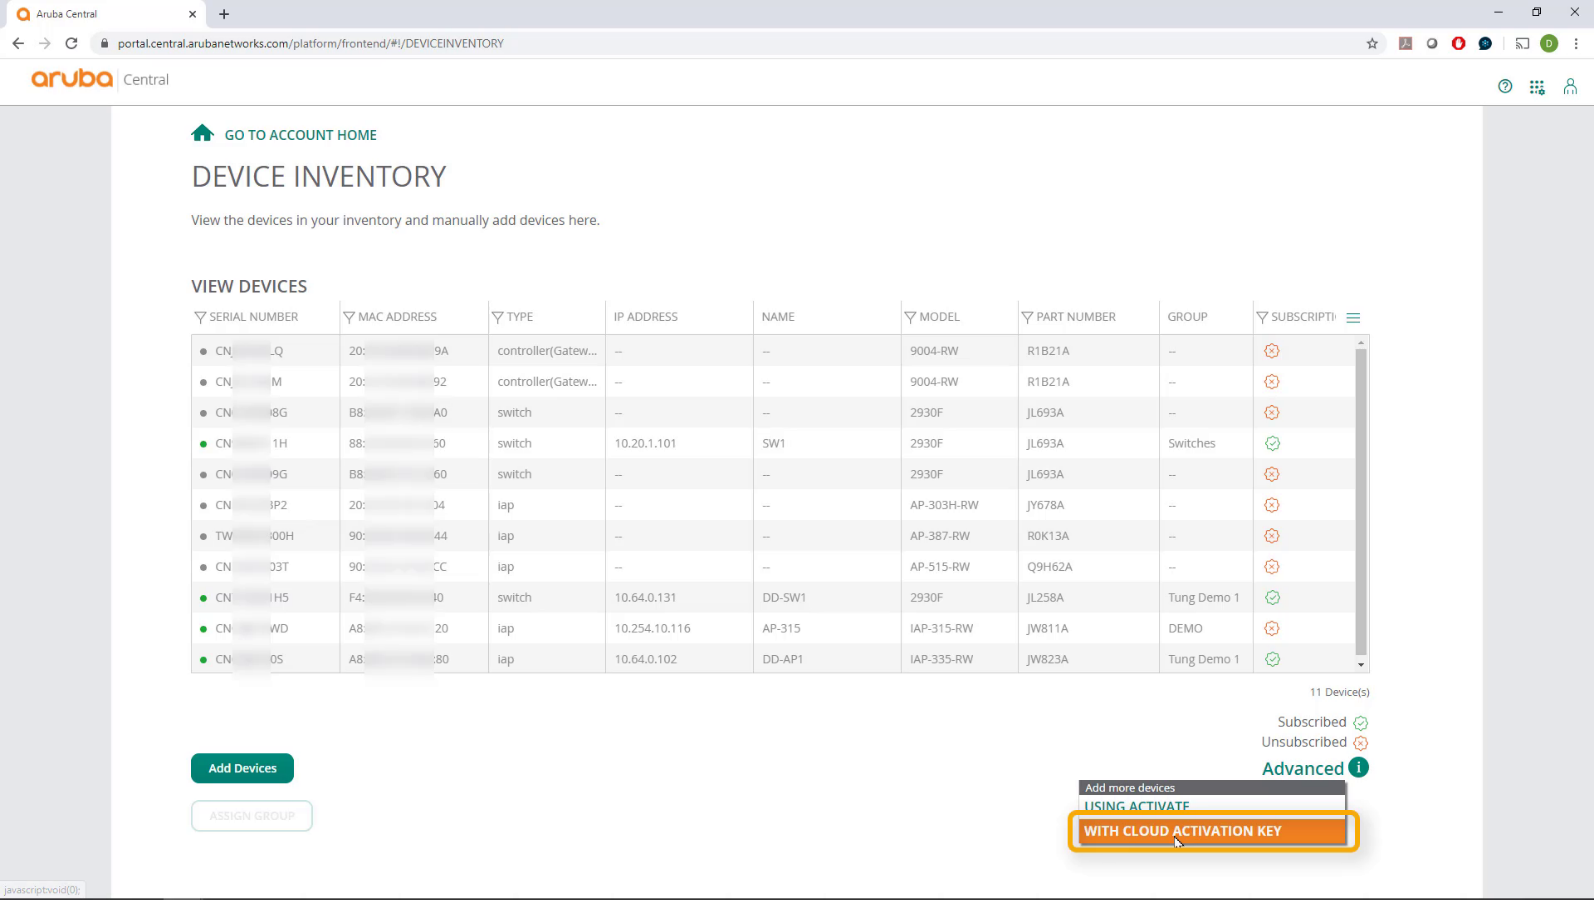
- Click on Device Inventory
.png?width=1920&name=1-3%20(1).png)
- At the bottom right of the Device Inventory page, click on Advanced and select add more devices With Cloud Activation Key
- Copy and paste your Cloud Activation Key and MAC Address into the fields provided.
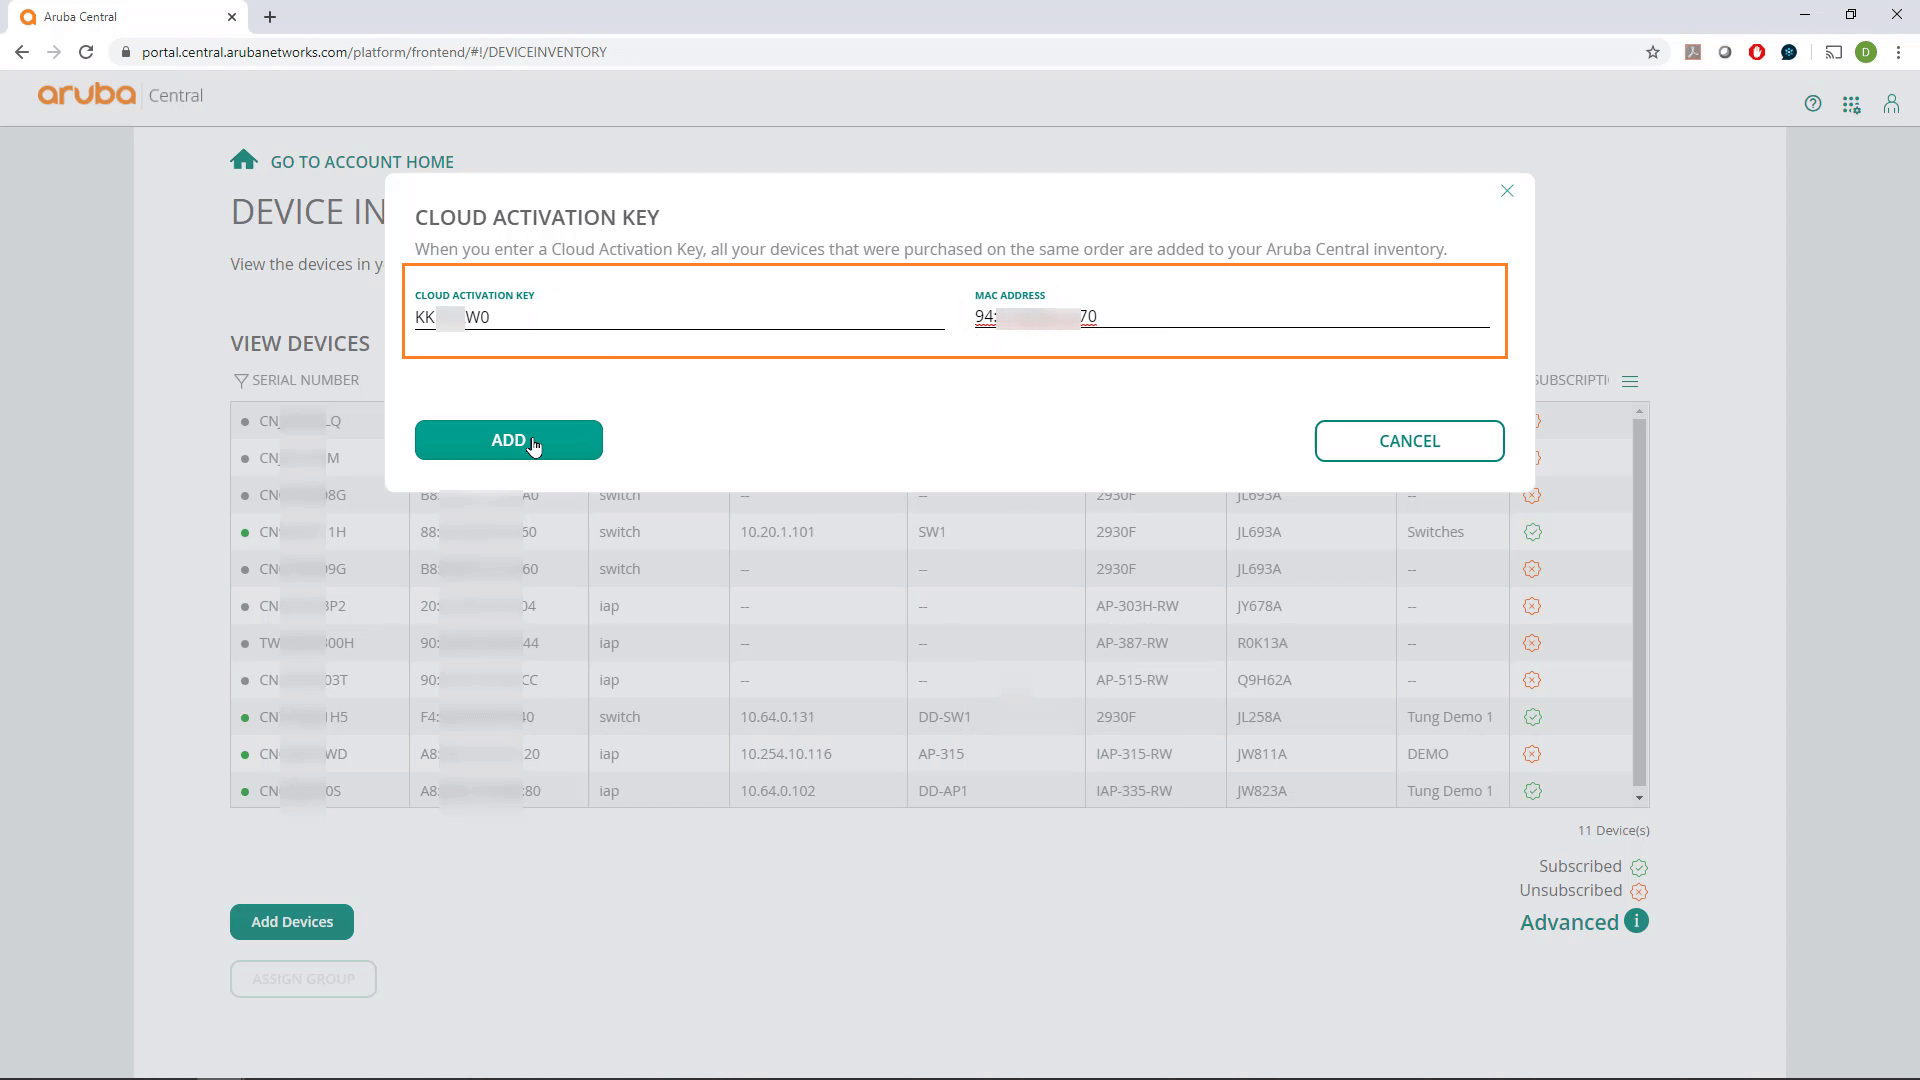
- Click on Add
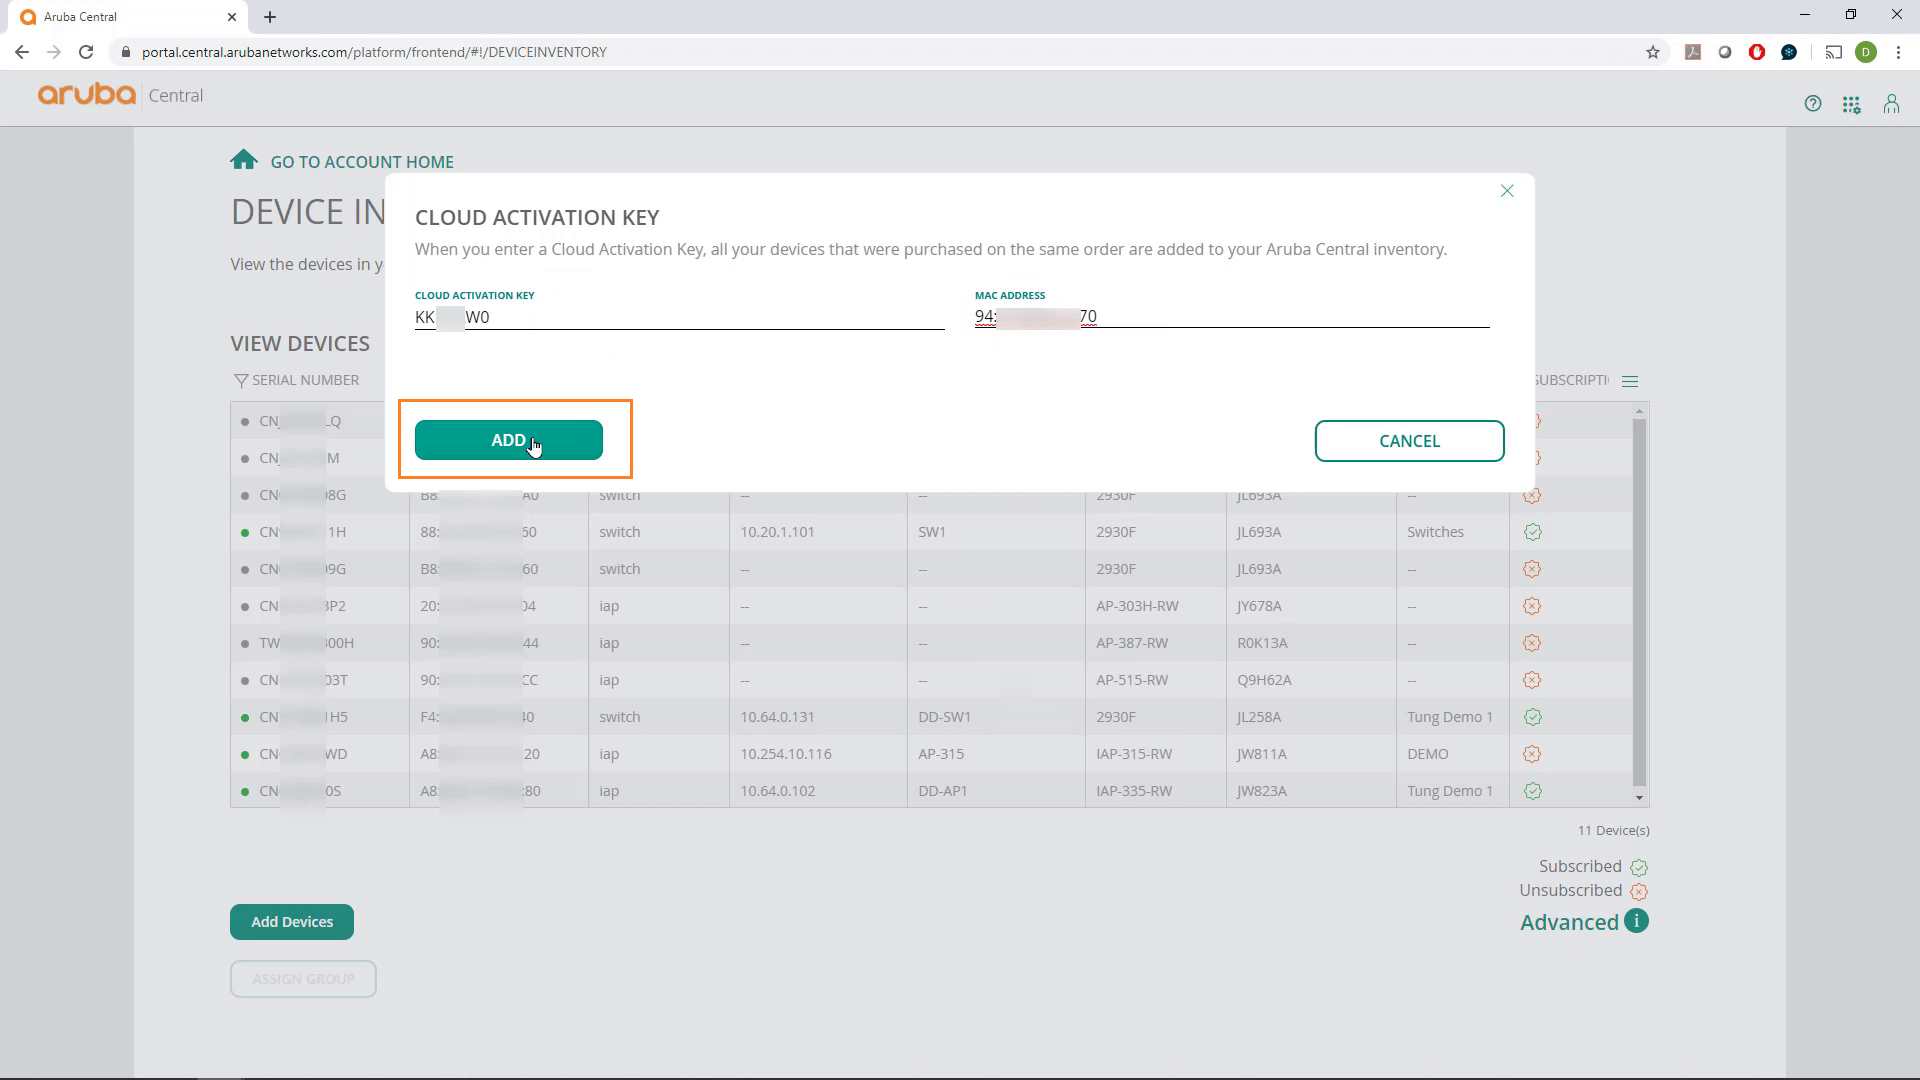
- Refresh the Device Inventory page after a few seconds and you should see your device on the list of devices, along with any other devices that were purchased at the same time.

Dicker Data Expands CrowdStrike Partnership with New MSSP Aggregation Model Across A/NZ

Cisco’s AI Rally Kit Delivers High-Performance AI Without The Engineering Pain

Meet the Team: Amir Kalil - Senior Business Manager & AI Practice Lead
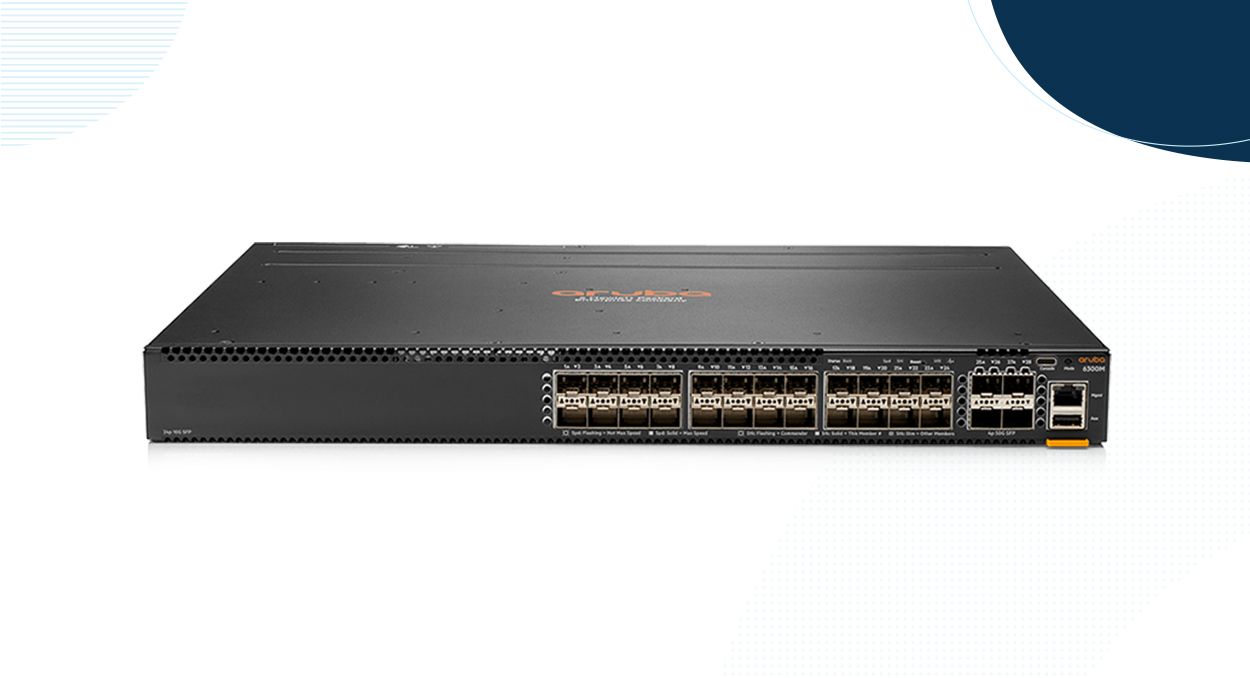
How to Get Started with Aruba CX 6300 Switch Config

How to Remove Devices from Aruba Central